Photography DIY – Creating a Window Wall – Part 2
As promised, today is all about how the window wall was built, how it works and more images taken in front of it. I’ve included the materials I used, a diagram of the parts and how they go together as well as step by step instructions on putting them together.
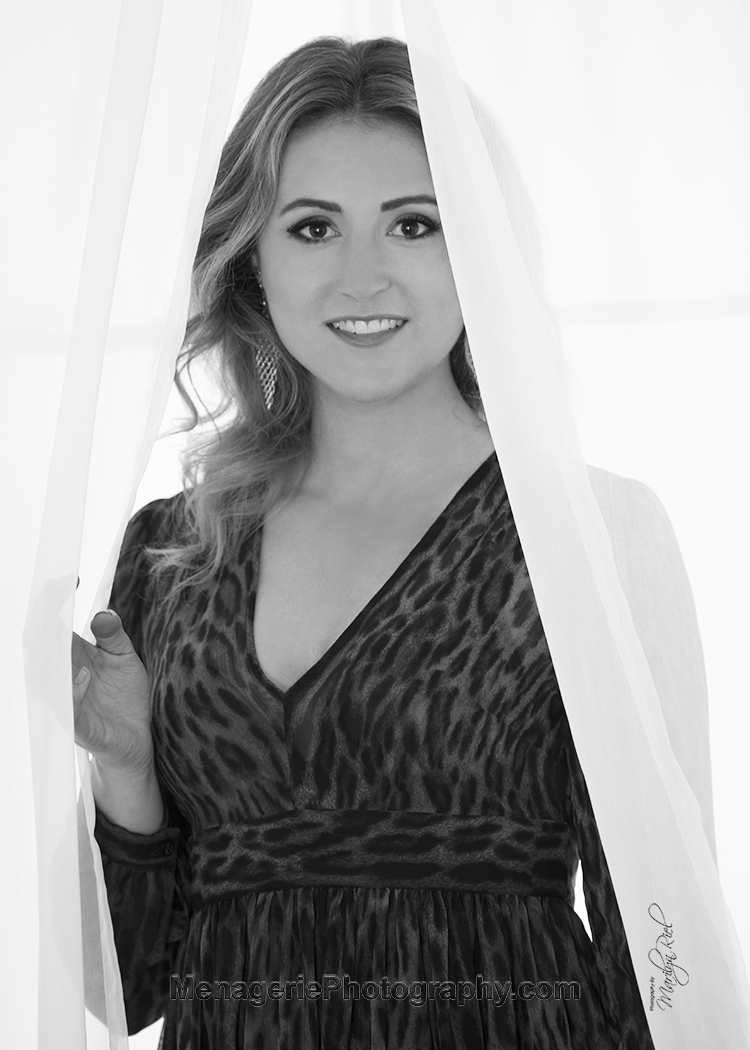
To start you off here is an image of me photographing a client in the studio in front of the wall and the finished image for the client.
Material List and Diagram:
The diagram show the back of the panel. Other than one strip of nylon strapping and the thumbtacks holding the sheers, all nails and screws are put in on the back to keep a clean surface in the front.
As you can see in the diagram, there is a difference in the width of the boards used in the three panel frames. the narrower boards allow the opened panel to have a consistent look while giving wider boards on the ends for stability. Pre-drilling is highly recommended to prevent splitting the panel boards as they are not very thick. Pre-drilling the screen molding strips is also recommended to prevent breaking or splitting as they are very thin.
All joints were glued then screwed together and the screen molding strips were also glued to the panels and at their joints. As an extra step, I did use thin strips of wire to tie the molding strips at their joints while the glue dried. Instead of removing them. I left them and added an extra bit of glue on the back to cover the ends of the wire. You don’t see them in an image and they have a tendency to get stuck in the glue when it dries anyway.
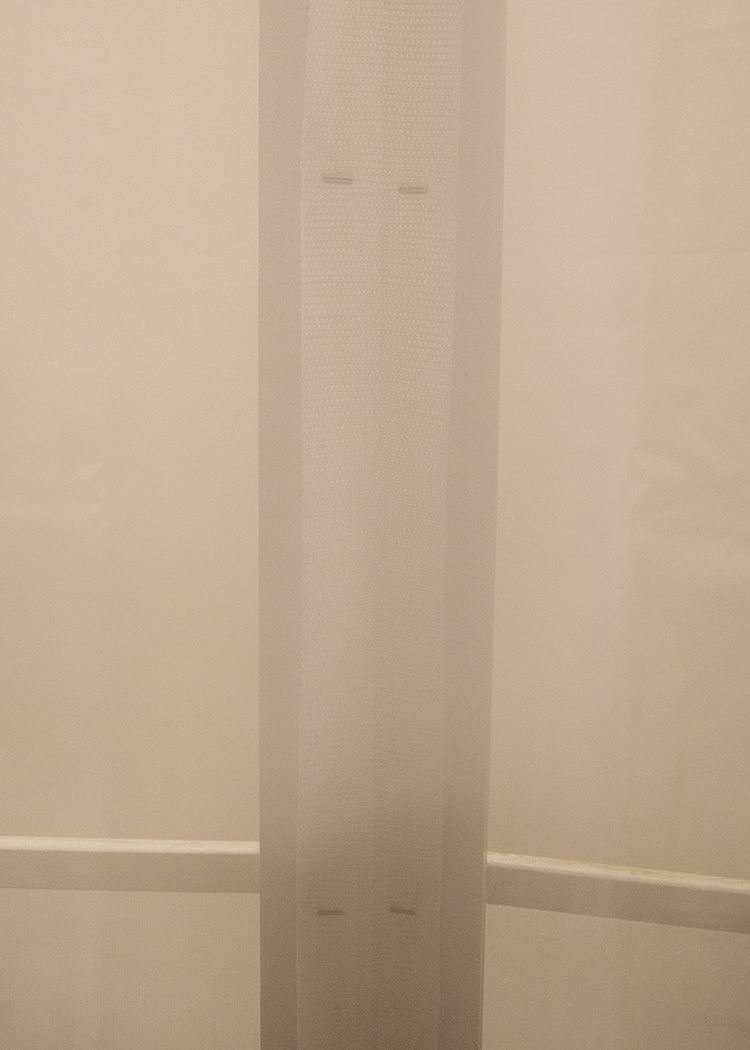
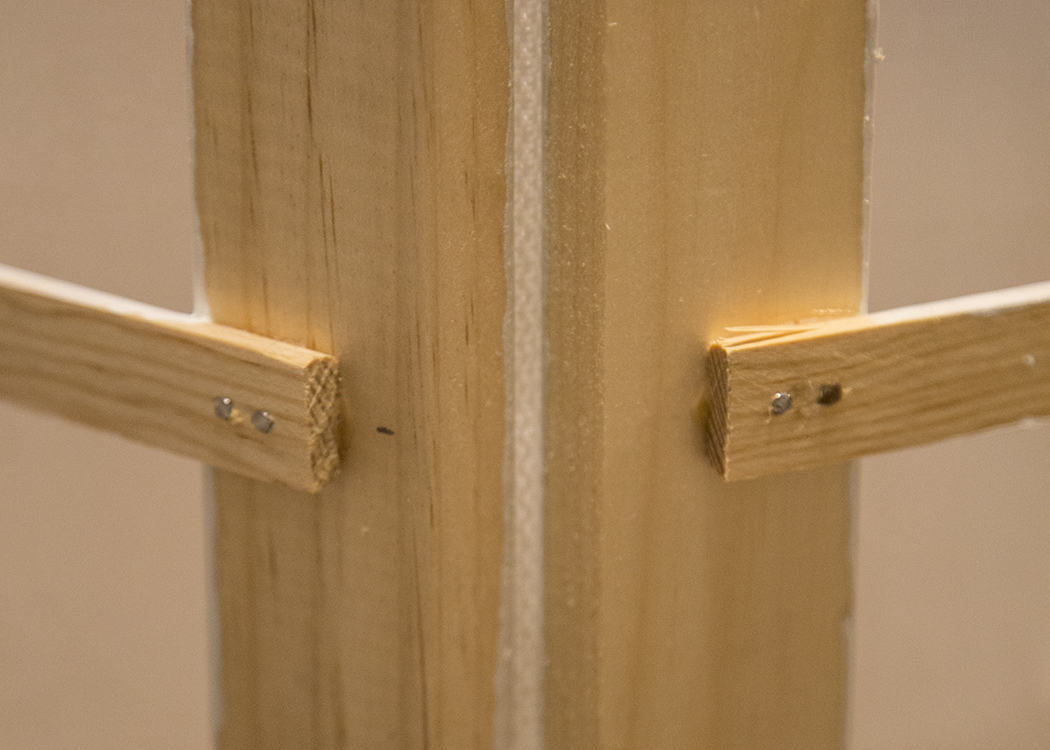
After you have cut all your boards, assemble each panel independently and paint if desired. Once all three panels are assembled, lay them side by side as shown in the diagram on a flat surface. One strip of the 2″ nylon strapping is then stapled along the joint of the front of one side of the center panel and stapled to the corresponding front side of one end panel. The second strip of 2″ nylon strapping is stapled to the back of the opposite side of the center panel and the back of the corresponding end panel. Adding the strapping on opposite sides allows the panels to fold accordion style for easy storage.
The next two images show the nylon strapping from the front side of the panel and the back view of that panel when folded
As you can see in this video, this is lightweight and easy for one person to manage. It takes about a minute with only a step stool to get it set up and ready to go!
Keeping in mind that I am only 5’2″ tall I feel that this is a great, lightweight option for creating your own wall of windows. The two items listed as optional (eye screws and D-rings) were used to connect the panel to the ceiling. You can make braces to go at the bottom instead if you choose to. I like hooking it at the top as it does not interfere with the view when taking a picture. I did also add gliders to the bottom with felt to make it slide easily but you could also just add felt right to the bottom of the panels so it doesn’t scratch the floor.
This wall has become one of my clients favorite backdrops and can easily be moved while they are changing outfits so that saves on time!
I hope you liked this post. Next time I’ll be talking about how I used a few simple items including a bungee cord, some steel wire, two more eye screws and a sheet of Plexiglas to change the look of my window wall. See you then!
If you have any questions about this article or ideas for other topics you would like me to write about, please comment below or Contact us from our web page.
CONSIDERING A PHOTO SHOOT?
If you’ve ever dreamed of having a photo shoot that is all about you, whether it’s a romantic and sexy lingerie boudoir shoot or an intimate and glamorous portrait session, we have the studio, stylists and photographer to provide an unforgettable and empowering experience. Call me to set up a complimentary consultation where you can see the studio and we can talk over coffee about how you want to be photographed.
Is it a long trip to visit the studio? Women have traveled from all over the East Coast including Connecticut, New Jersey, Virginia, Ohio, New York, Massachusetts and Rhode Island for their custom photography session with us. Feel free to contact us and set up a special phone consultation! And remember Gift Certificates are always available.
BOOK YOUR SESSION TODAY!!!
- Beyond the Veil: Why a Bridal Boudoir Shoot is the Ultimate Gift for Your Groom - February 16, 2024
- Boudoir Bliss: Your Guide to a Confident Photo Shoot - January 25, 2024
- Boudoir: Beyond the Bedroom Door - January 23, 2024
